Drying time
Touch-dry in a couple of hours
Most paints are dry to the touch within a few hours, with full curing and maximum durability in about 7 days.
Interior painting Guide
A Handy Homes interior painting project focuses on careful prep, clean lines, and a tidy workspace so your rooms feel move-in ready.
Overview
Most projects include walls, ceilings, and trim in one or more rooms. Our crew protects floors and furniture, repairs minor imperfections, applies the right primer and paint, and cleans up thoroughly before they leave.
Interior Painting
From drying times to daily disruption, here’s how Handy Homes interior jobs usually feel in your home.
Drying time
Most paints are dry to the touch within a few hours, with full curing and maximum durability in about 7 days.
Odor level
We use low-VOC products and keep rooms ventilated, so odor is low to moderate and usually fades within a few hours to a day.
Average duration
Smaller areas typically take one to three days, while full interiors and multi-room projects can run three days to one week.
Step-by-step process
Every project is a little different, but most interior visits follow this flow.
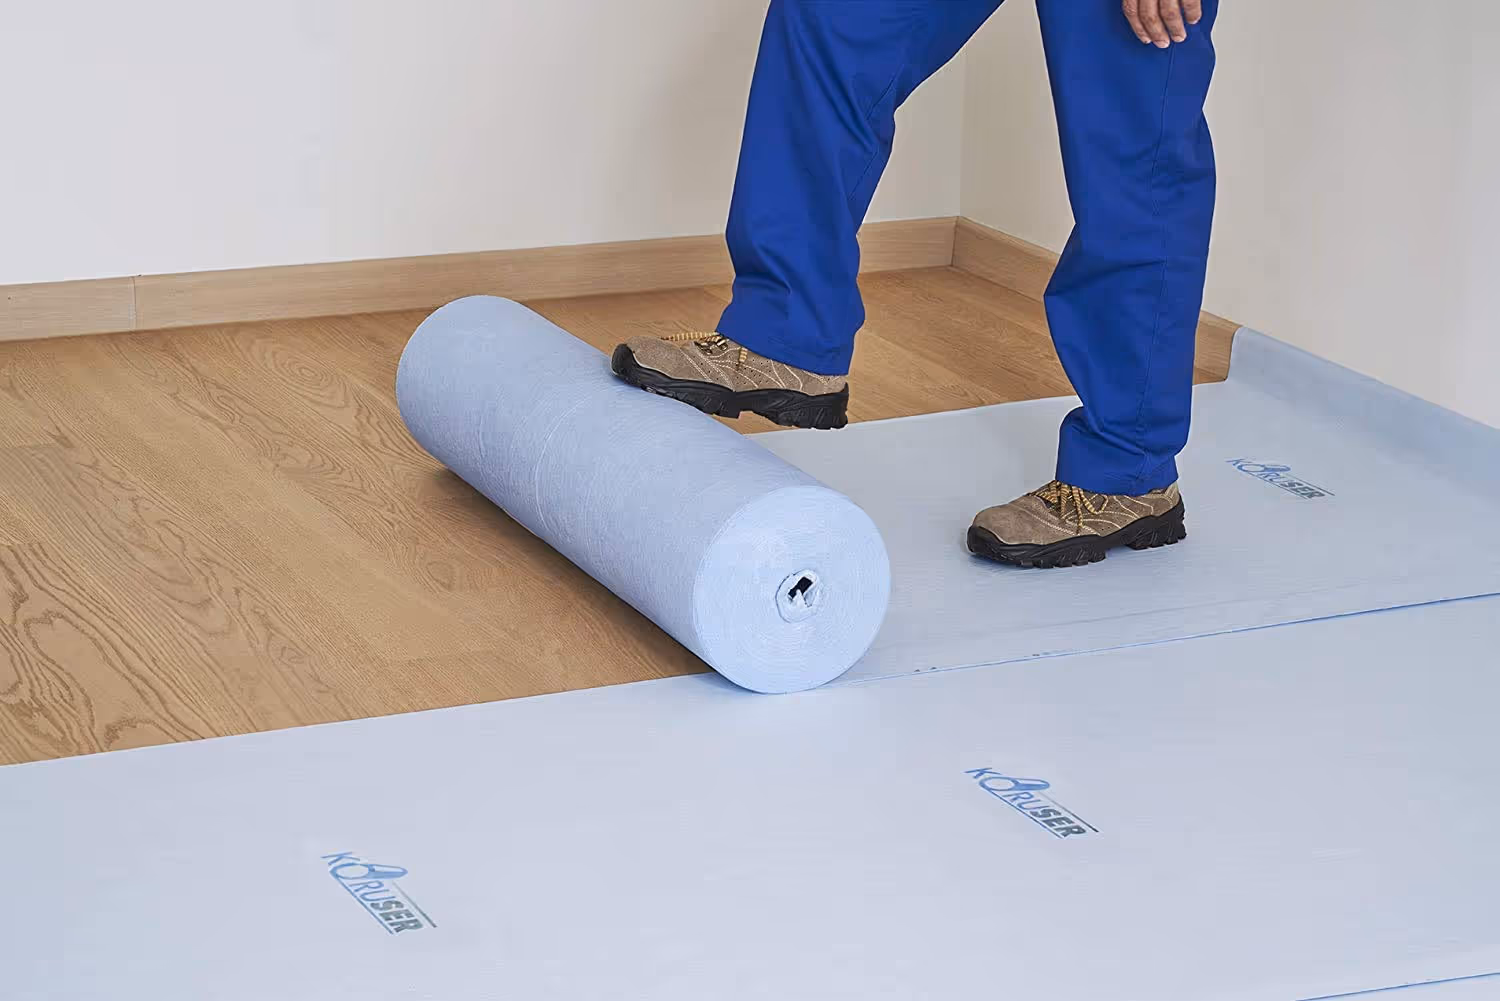
Step 1 · Preparation
We cover floors and furniture with protective sheets, tape edges, and remove outlet and light switch covers so nothing is splattered or damaged.
Walls and surfaces are cleaned to remove dust and dirt so paint adheres smoothly from the first coat.
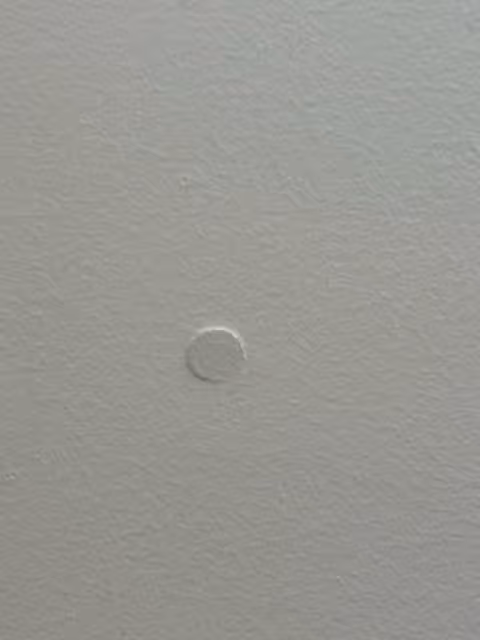
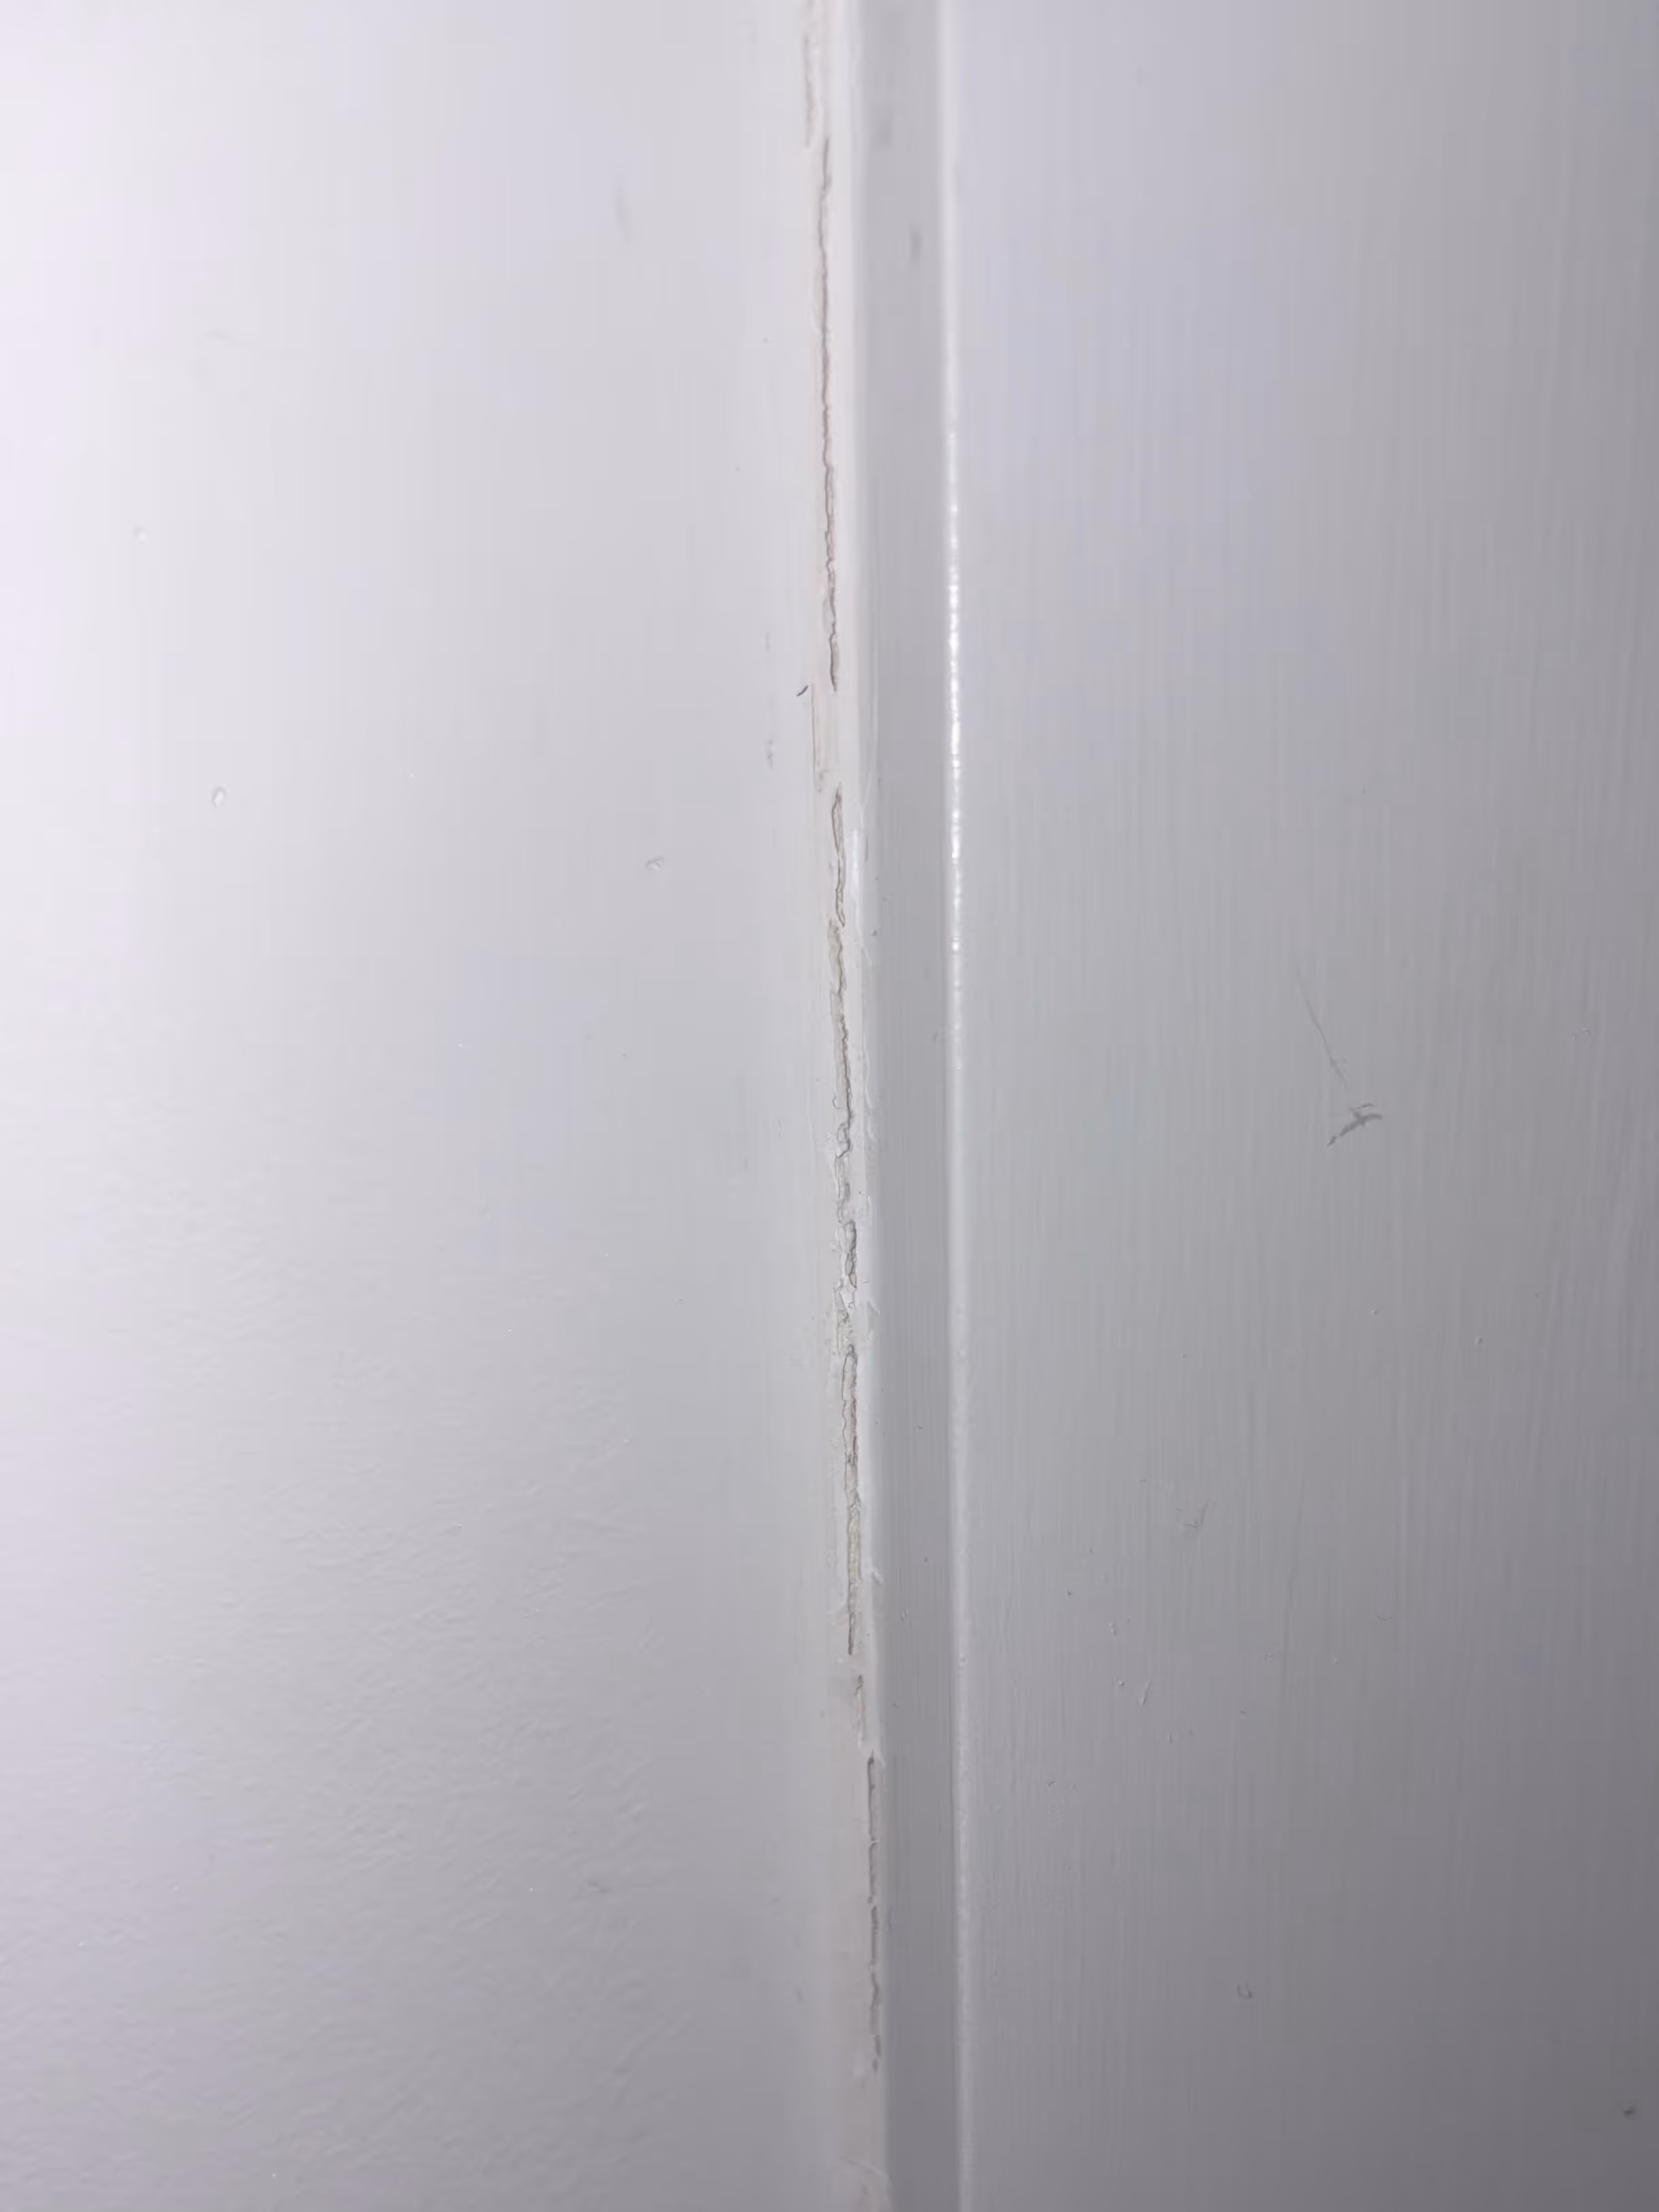
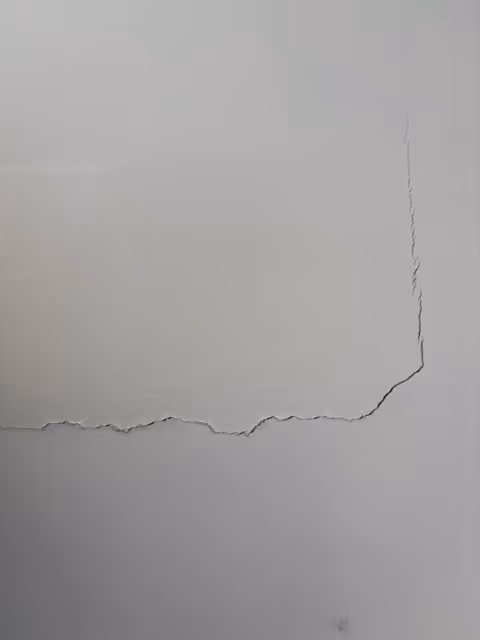
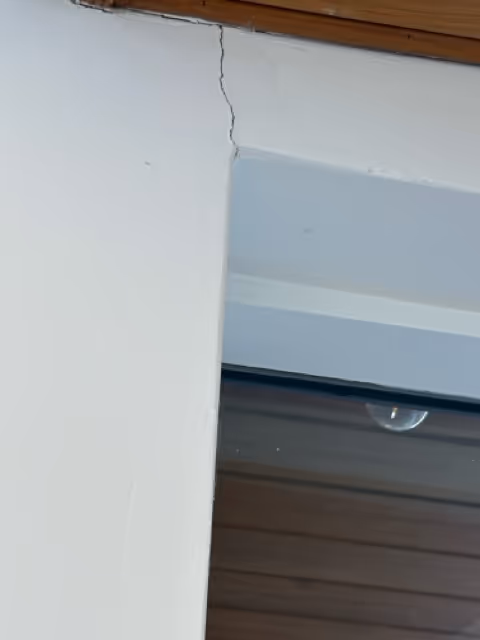
Step 2 · Repairs
Nail pops are filled, small holes are spackled, cracks are repaired, and rough areas are sanded smooth so they disappear once painted.
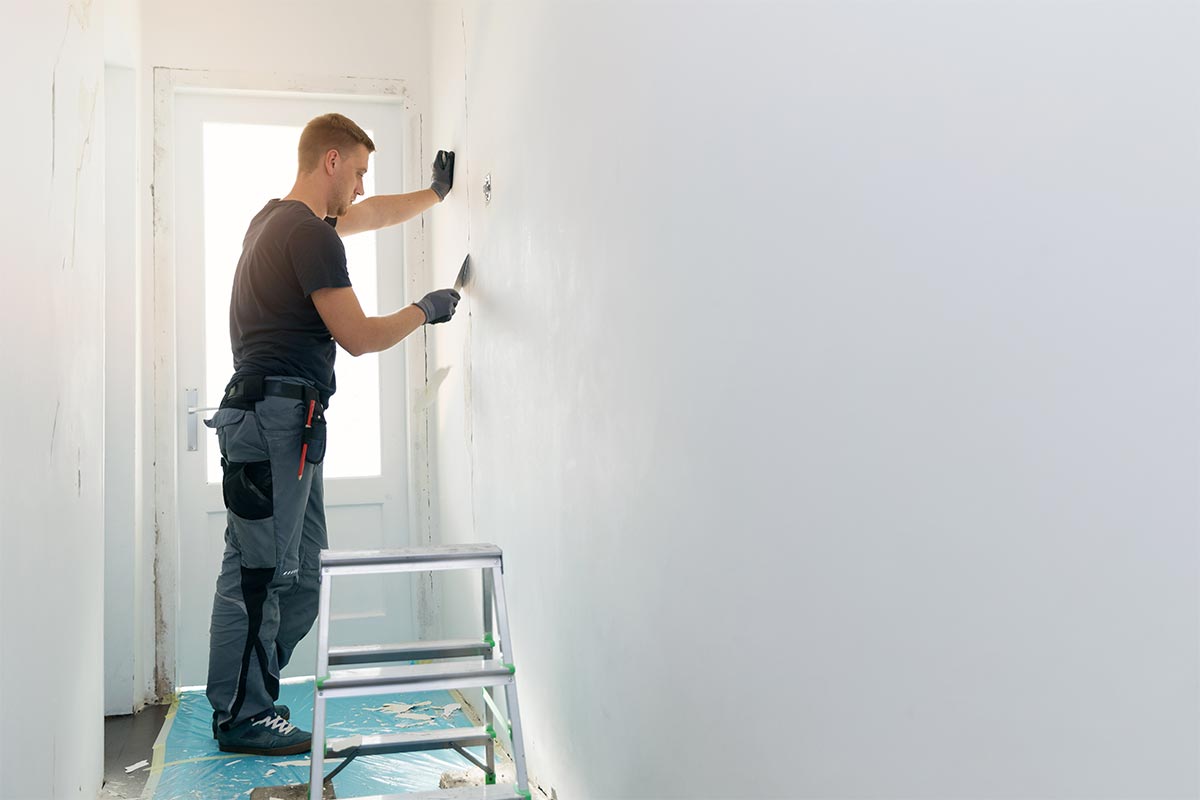
Step 3 · Priming
Once repairs are complete, we prime bare walls and problem areas so finish coats cover evenly and last longer. If color changes are drastic we prime full walls.

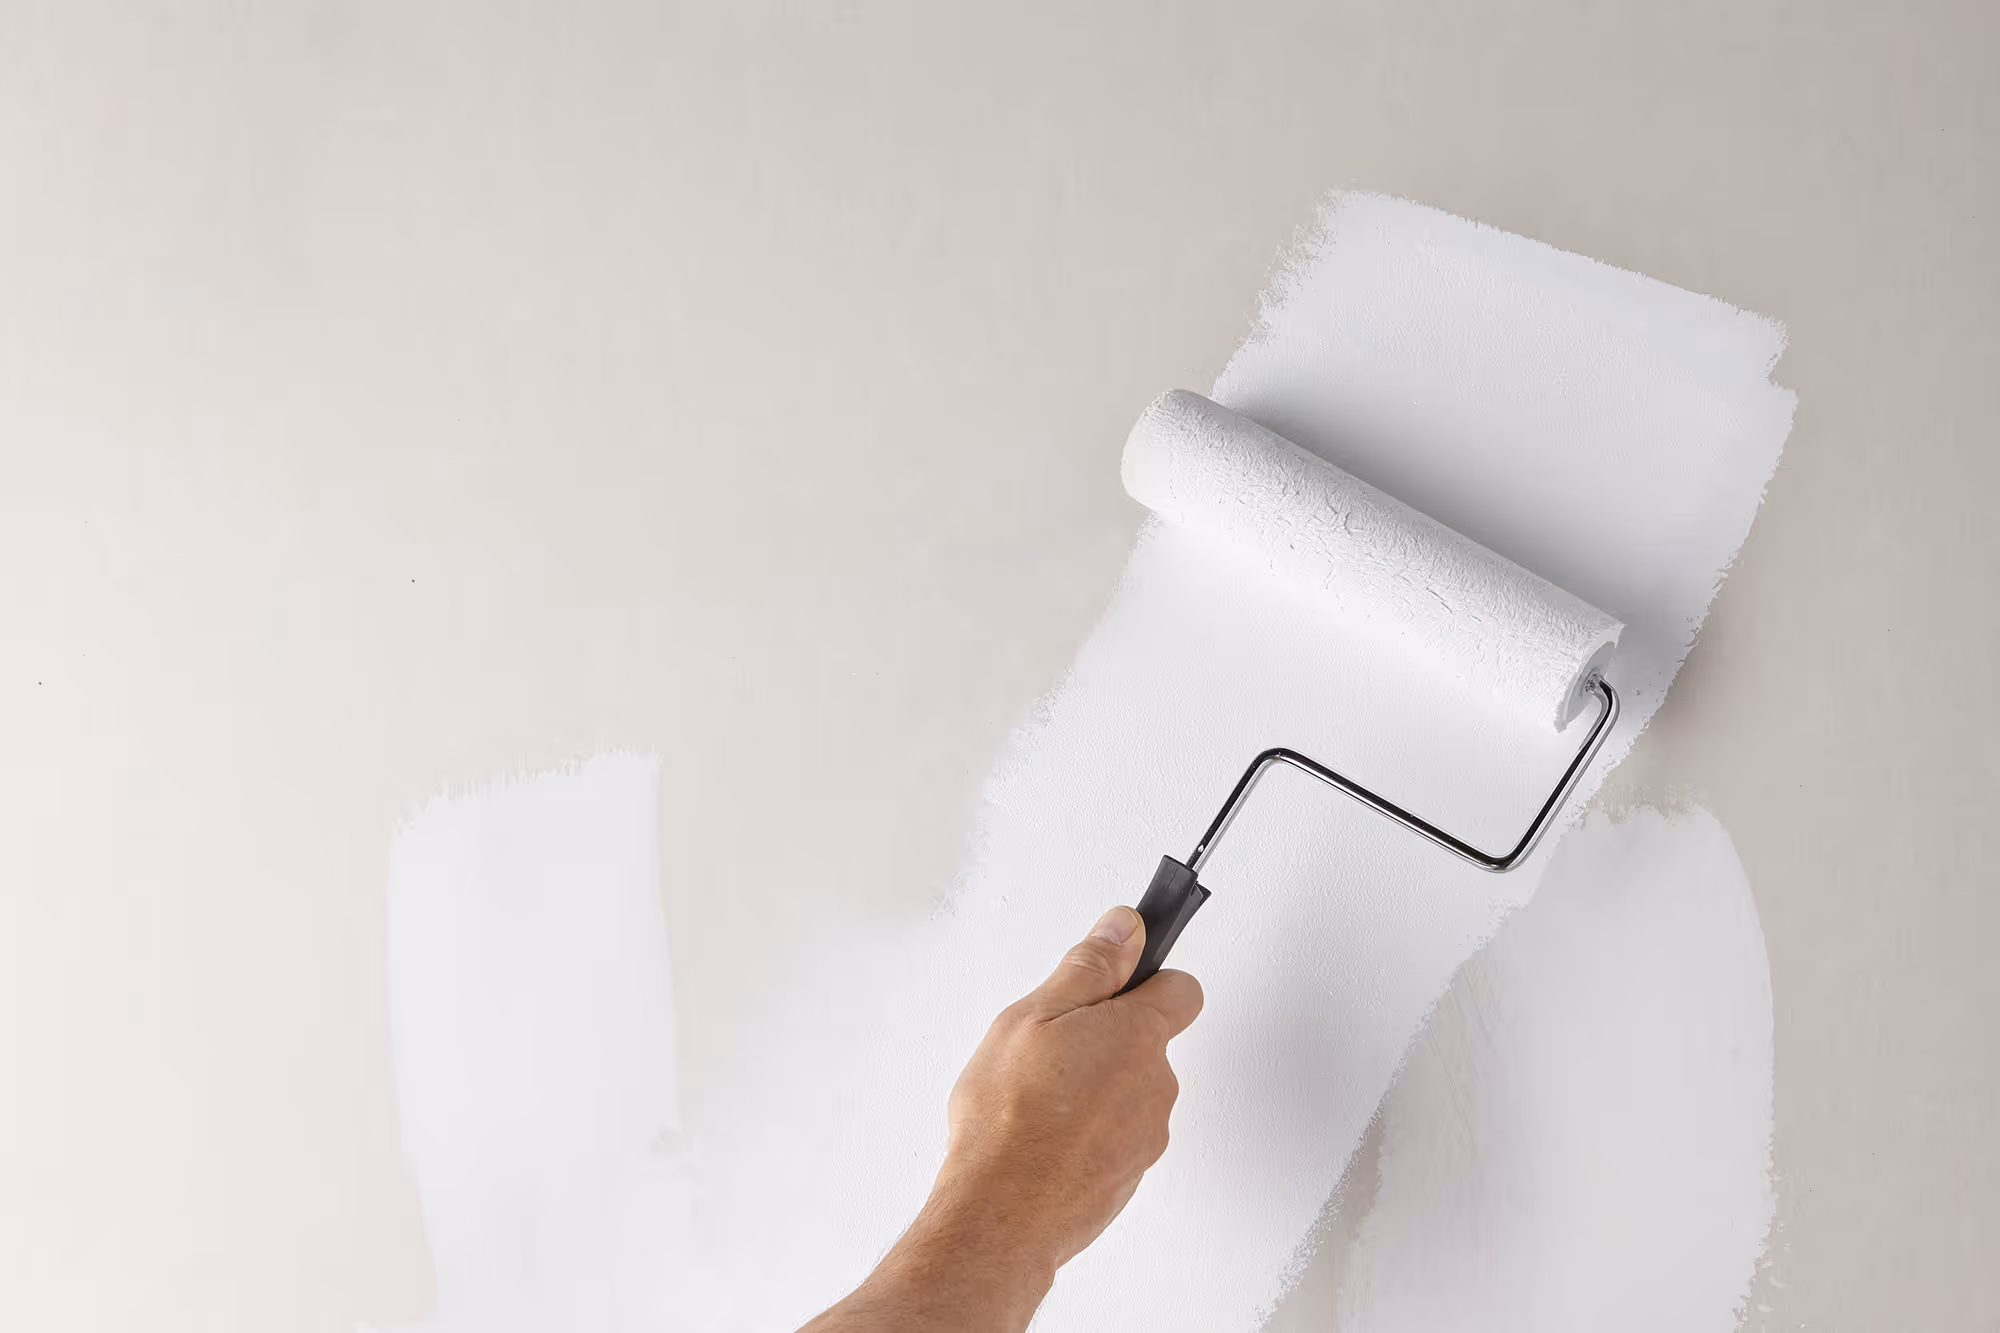
Step 4 · Painting and finish
After priming, we carefully cut in around trim, corners, and edges, then roll paint in multiple thin coats, allowing each layer to dry.
Once everything is dry, hardware and covers are reinstalled, the space is cleaned, and we walk the room with you to make sure every detail looks right.
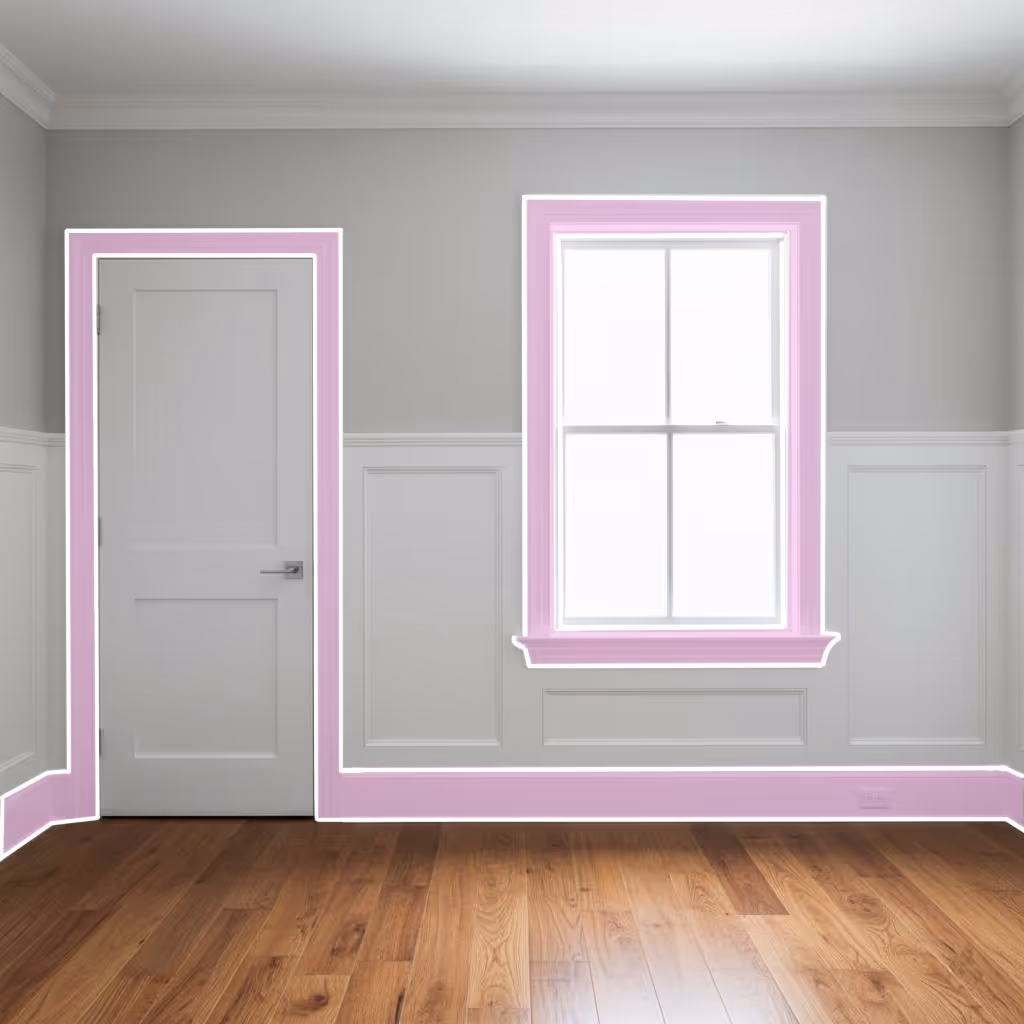
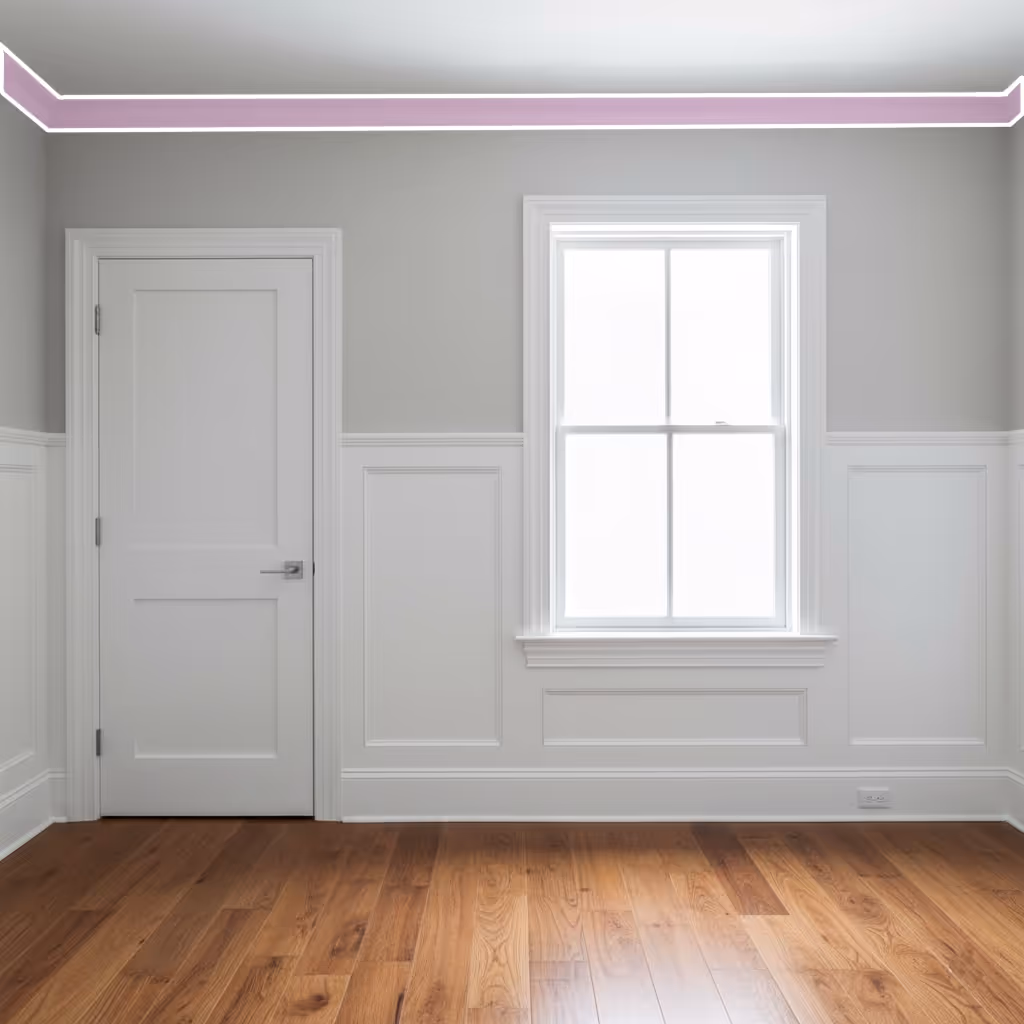
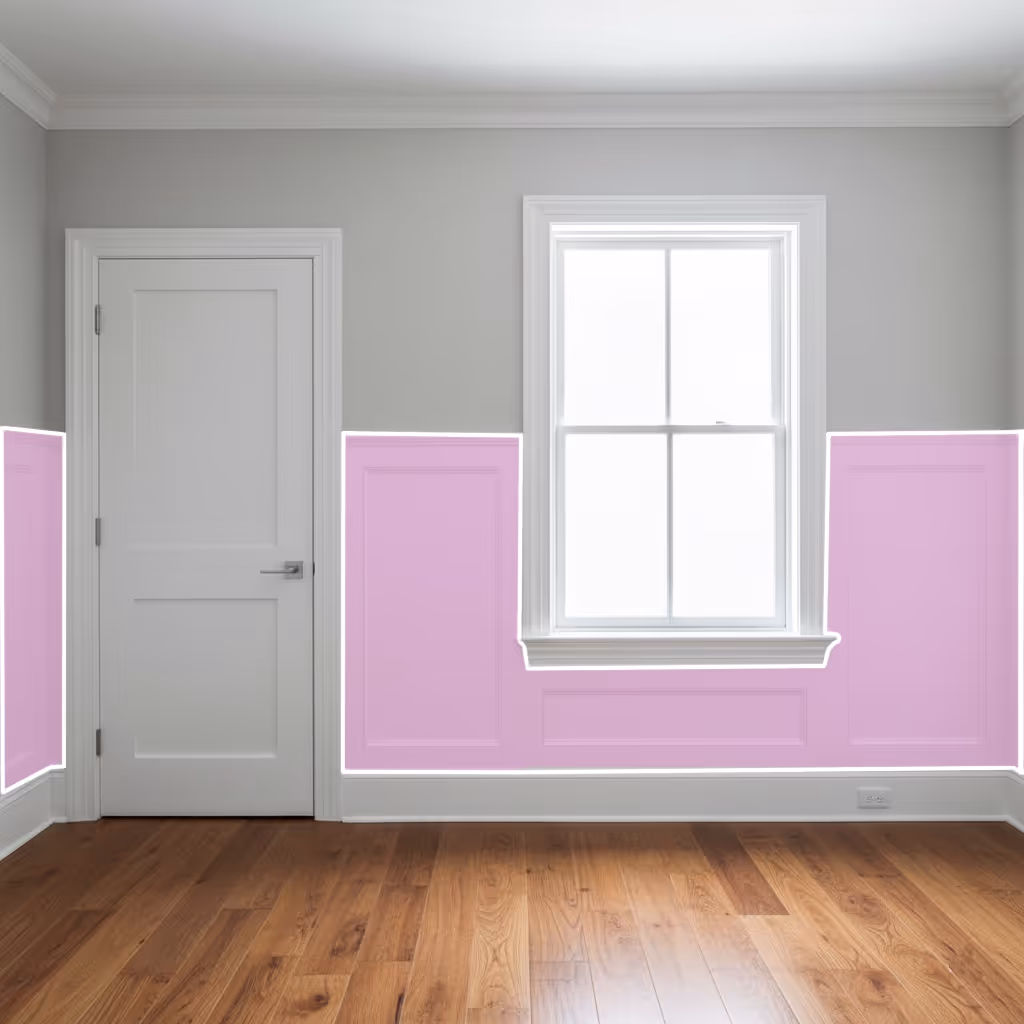
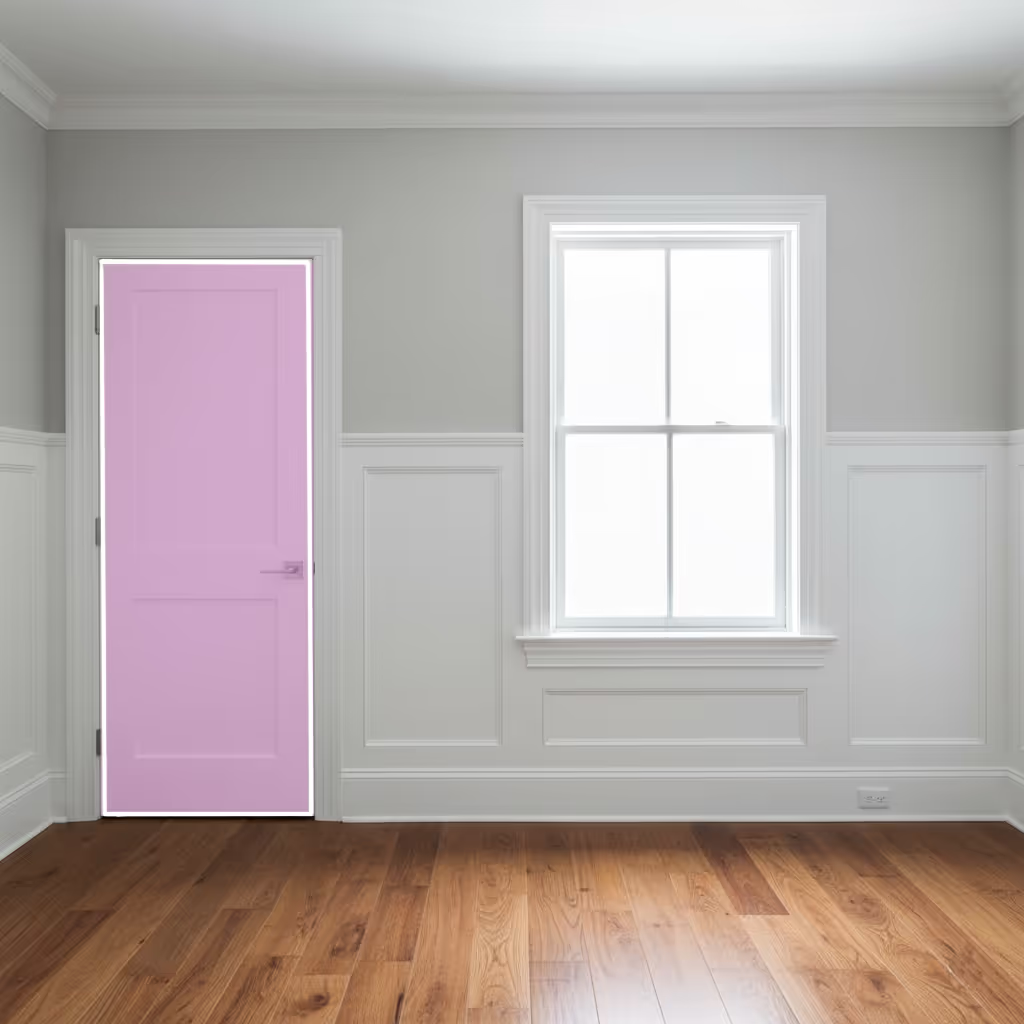
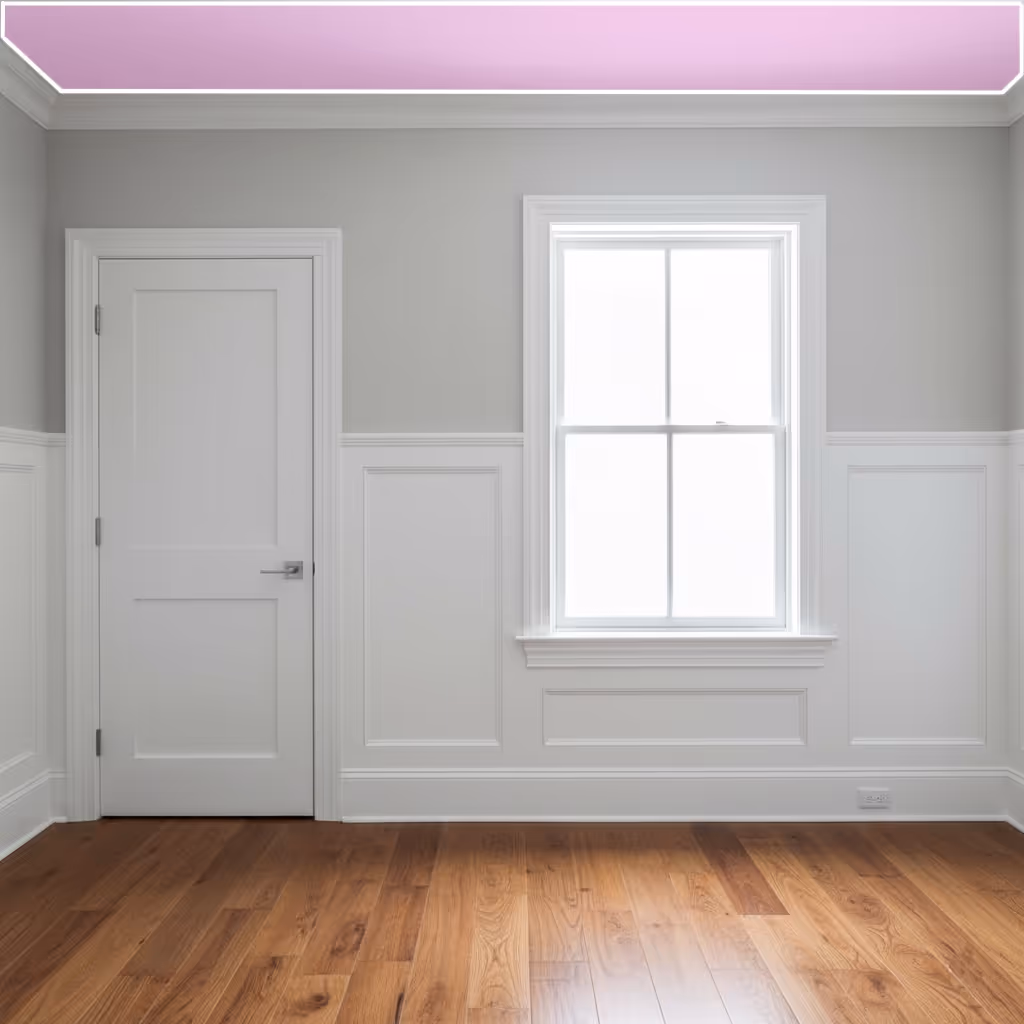
Interior parts
Knowing the names of each surface makes it easier to compare estimates and plan your project.
Grading Wall Quality
Here's a helpful guide to assessing the condition of any walls you wish to have painted.
How to prepare
The Room
Move small items out of project area and large items to the center of the room, about 4 feet from the walls to provide adequate space for the painters to work safely.
the walls
Remove any pictures, window treatments, mirrors, TVs, and valuable or delicate items.
the area
Make sure the area is cleaned before arrival. Please secure pets away from the work area.